We are big marmalade lovers in our house and whilst we enjoy trying out different brands of marmalade, nothing beats homemade. 2 years ago I tried making my own for the first time and the flavour was just incredible. January is the time of year when Seville oranges hit the shelves in the UK shops. So when I spotted them in my local supermarket this week, I knew I had to grab them and embrace my inner Paddington. So here is the recipe I follow:
Ingredients
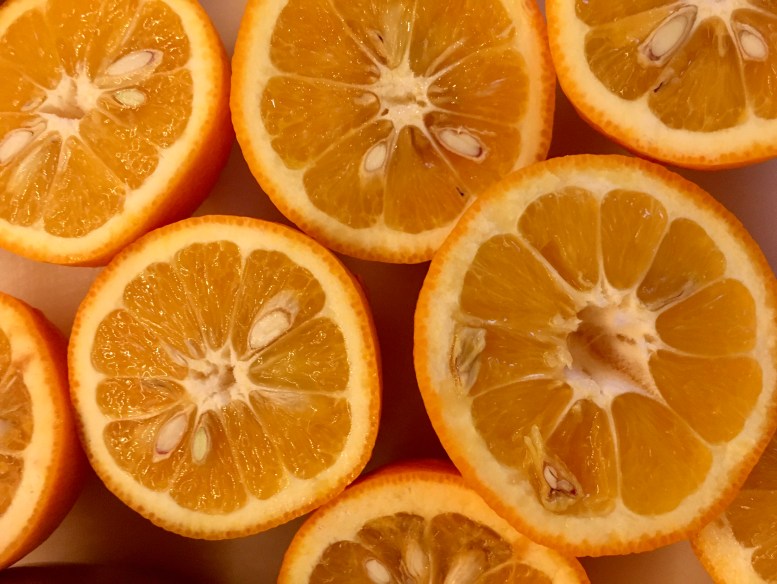
1kg Seville Oranges
1 Unwaxed Lemon
2 litres water
2kg Sugar
You will also need the following equipment: Large saucepan (I use this fabulous Maslin pan from Lakeland), Sieve, Muslin square (again Lakeland are a great source), good quality knife and chopping board, Citrus juicer or reamer, Jars (approx 6 x 340g jars – I save and reuse old jam jars).
Please note this recipe takes 2 days due to the overnight soaking. This increases pectin levels and helps the setting.
Method
Wash and dry the fruit.
Cut the oranges in half and juice – add the juice to the pan. Scrape out all pips and pith from the juiced orange halves and place in the centre of the muslin square. I find a combination of teaspoon and fingers works best. Then using a sharp knife cut the orange shells into strips approx the size of matchsticks. How thick you make them depends on personal taste – I like them fairy thin. Add the cut peel strips to the pan.


Cut the lemon in half and juice – add this juice to the pan. Then cut the lemon shells in half again and add them to the centre of the muslin square. Draw up the corners of the muslin square to form a pouch and tie ( I use white cotton to tie).
Add 2 litres of cold water to the pan and then submerge the muslin pouch in the water/juice mix – leave overnight to soak.

The next day bring the pan of juice/water and muslin pouch to boil and then simmer for approx 2 hours. I noted the volume markings on the inside of my maslin pan. The volume was 3 litres to begin and had decreased to 2 litres after simmering.
Whilst the pan is simmering make sure you sterilise the jars and lids throughly to avoid mould. You can either put the jars through a dishwasher cycle; or pour boiling water into the jars and dry with a clean tea towel; or handwash in warm soapy water and dry with a clean tea towel, then put into the oven for 10 mins at 140C/120C fan/Gas mark 1.
Now it’s time to remove the muslin pouch. Place in a sieve over a bowl and squeeze out as much juice as you can, add the squeezed juice back to the pan. You could use a wooden spoon to squeeze but I personally find a pair of tongs to be much more effective. This step is really important so do not skimp here as the pectin levels will really help with the setting of the marmalade. When I first made marmalade I didn’t pay much attention to the squeezing and subsequently I struggled with the setting. So be warned!
Place 2 small saucers into the freezer to use later for testing the setting.
Next add the sugar to the pan. You may wish to experiment with using different types of sugar as this will give different flavour results. Granulated sugar or preserving sugar are usually the best starting point here. Avoid caster sugar as this dissolves too quickly. White sugar gives a clear, bright finish while golden sugar results in a darker marmalade with more complex caramel flavours. This year I’ve experimented with half white and half golden granulated and I’ve found the resulting flavour to be much more rounded. It all comes down to personal taste! A good tip is to warm the sugar in the oven before adding to the pan. Spread the sugar out over baking trays and warm for 10 mins at 140C/120C fan/Gas mark 1. Once you have added the sugar keep on a low heat and stir until the sugar has dissolved. Then increase the heat and bring to boil. Keep at a rolling boil for approx 15 mins until set. I like to use a jam thermometer to check the marmalade is at setting point (105C). Skim off any foam.
Now test the marmalade has set by performing the wrinkle test. Pour a spoonful of the marmalade onto one of your chilled plates and leaving for a few seconds. Then drag your finger through the marmalade – if it wrinkles it is set! If it seems too runny you can boil the pan for another 5 mins and retest with your 2nd chilled plate.
Once you are happy with the setting and you have skimmed all foam from the surface, leave the marmalade to cool in the pan – approx 15 mins. Then you can fill up your sterilised jars and cover with waxed discs. Seal tightly with lids once cool. Store in a cool, dry place out of sunlight – it should keep for up to 12 months. Once opened refrigerate and use within 1 month.

